User Registration (Local ID)#
Local IDs for MINERVA users can be set up:
- manually (Add User)
- the administrator adds the user directly into the system and inputs all the necessary details.
- automatically (Sign Up)
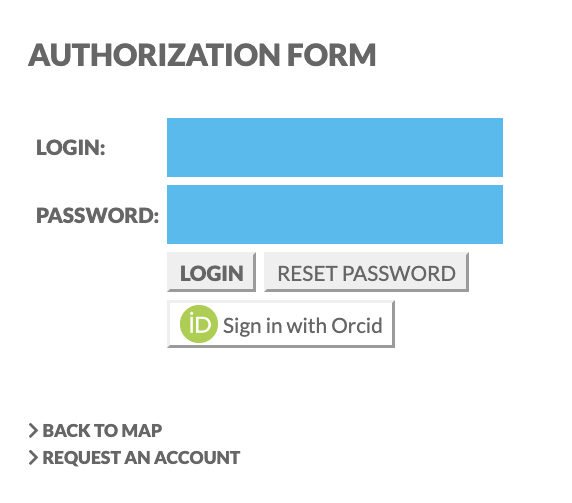
- the users sign themselves up. By default, sign up is not configured. It requires email server configuration and activating sign up (see Sign Up below). By default users can only request for an account by contacting the administrator by email (see screenshot below)
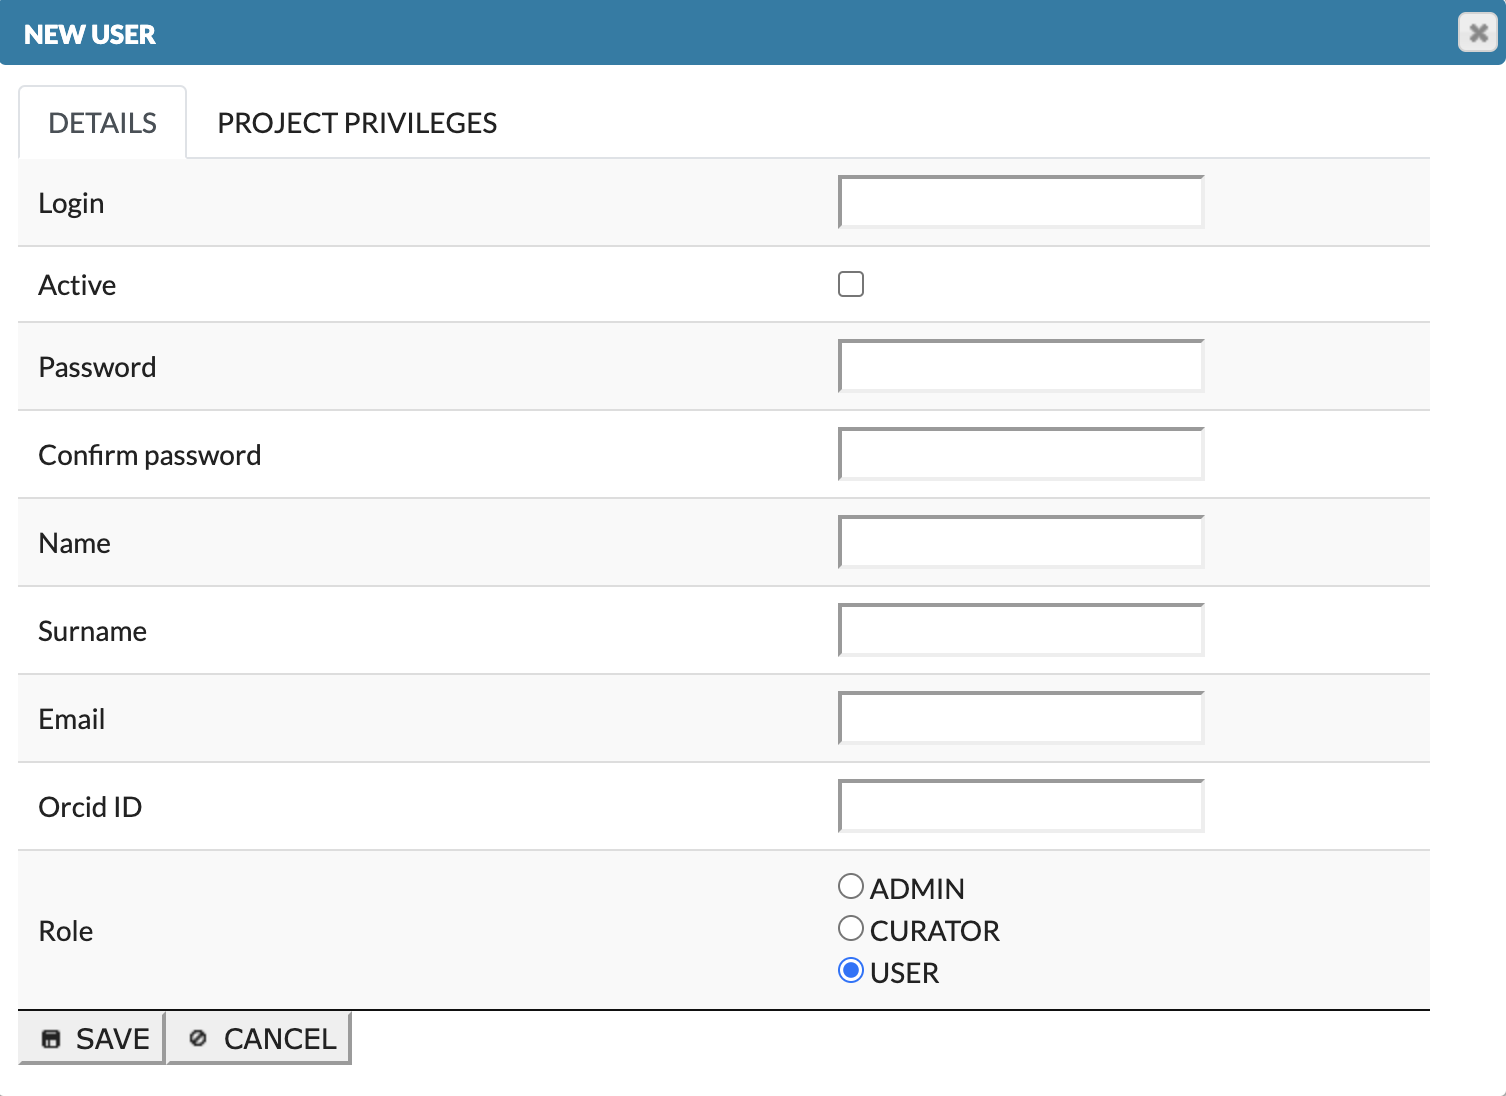
- Add User
Add user window is presented below. The first tab Details allows to provide user details and set his role. The role describes the user’s access rights - Admin, Curator or User. Active checkbox allows the admin to activate the user’s account, whether the user signs up independently or is added manually by the admin.
The second tab Project privileges is concerned on user’s privileges for a particular projects (View project, Modify project). Note that users can not be granted only with Modify project, as View project is necessary to see the project on the projects list.
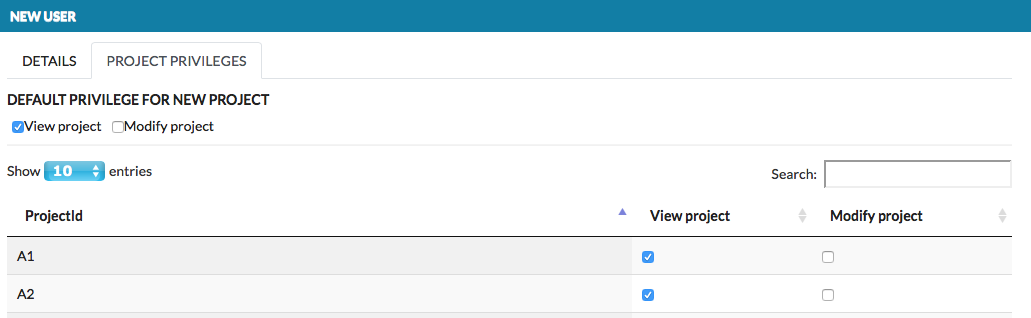
The project’s privileges are listed below:
Default privilege for a new project checkboxes - set up default privileges assigned to this user for any new project on the instance.
View project checkbox - allows the user to see that project on the projects list.
Modify project checkbox - allows to manage the project. Note that depending on a role, Modify project privilege grants User and Curator with different access rights (see below).
- Sign Up
In the server configuration settings, administrators have control over how user accounts are managed and created with two checkboxes:
- Allow users to create accounts
- Require admin approval for automatically registered accounts
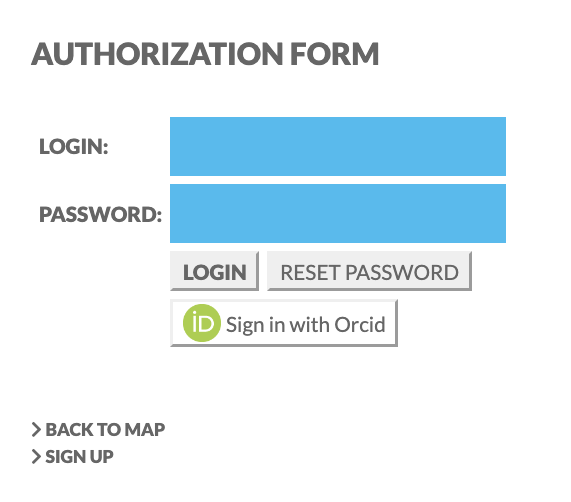
When the Allow users to create accounts option is enabled, users can independently sign up for a new account.
For more details on the process of signing up, see Sign up section in User’s manual.
The Require admin approval for automatically registered accounts checkbox determines whether a user’s account is active immediately after sign-up or not.
User Actions#
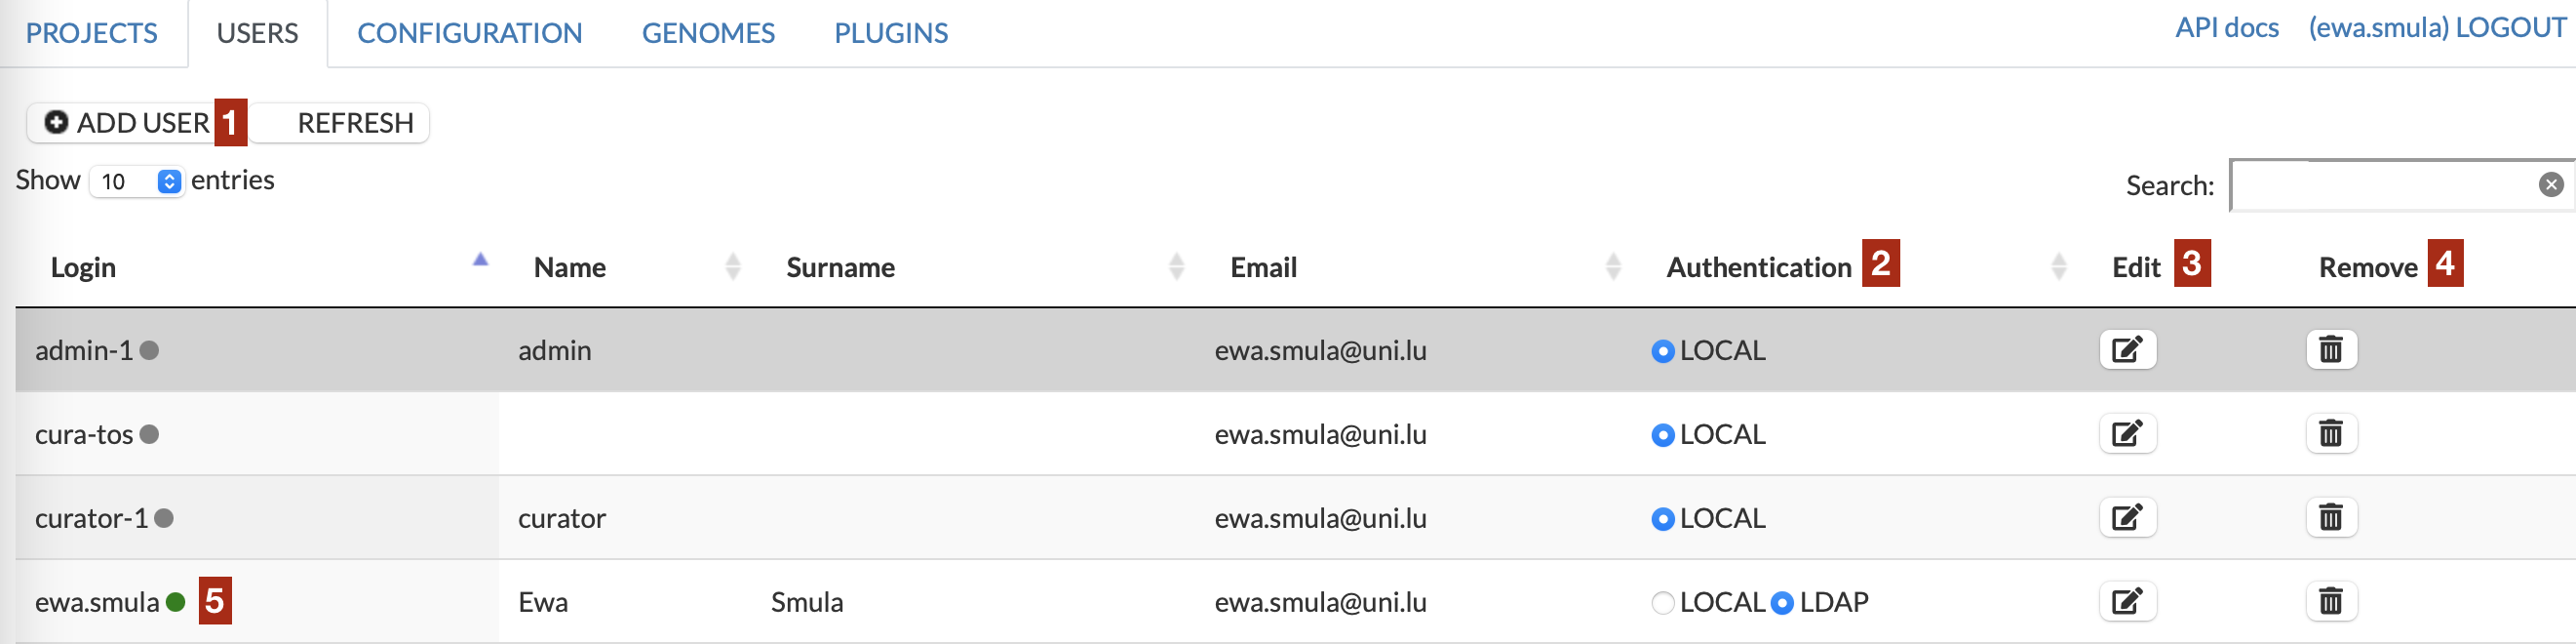
Registered users can be allowed to upload data overlays to maps hosted on a MINERVA instance, and to manage it. This panel allows you to (see image below):
- Add (1) user - clicking on that button invokes the window allowing to set login, password, name and the privileges (role) of a new user.
- Choose LDAP authentication (2) for the user; find out more how to configure LDAP in the section LDAP configuration.
- Edit (3) user details and privileges. All information except the login field can be modified.
- Remove(4) the registered user from a MINERVA instance.
- Login (5) - next to login, there is a green dot, informing which users are currently logged in. Inactive users are marked with gray dot.
Users Roles#
Roles are listed below. More detailed specification is presented in the following table.
Admin has full access on MINERVA instance to manage projects, users, genomes, plugins and MINERVA configuration.
Curator can add, remove and manage projects (see the table below for more details).
User user sees the list of projects (if has View), manage their details (if has Modify) and can add overlay.
| Role | if View | if View & Modify |
|---|---|---|
| Admin | N/A - full access | N/A - full access |
| Curator | add/view the project; view only the project details (in Edit); add overlay; remove own comments | add/remove/view the project; full access to manage the project (in Edit) |
| User | view the project; add/remove overlay (in User View) | view/manage the project’s general details & maps; remove own comments; add/remove overlay (in User View) |