Go back to Examples v12
Example 03 - Custom data upload by registered users#
This section provides examples of data upload by registered users. Two subsection provide detailed examples for uploading basic and advanced formats.
Basic format#
The file in basic format has two tab-separated columns Name and Value (see also Upload user-provided overlay data):
- Name containing names of elements to be colored
- Value containing a value from [-1,1] range, to be transformed to red-green coloring, with negative values colored blue, positive colored red; the saturation of the color will be defined by the absolute value.
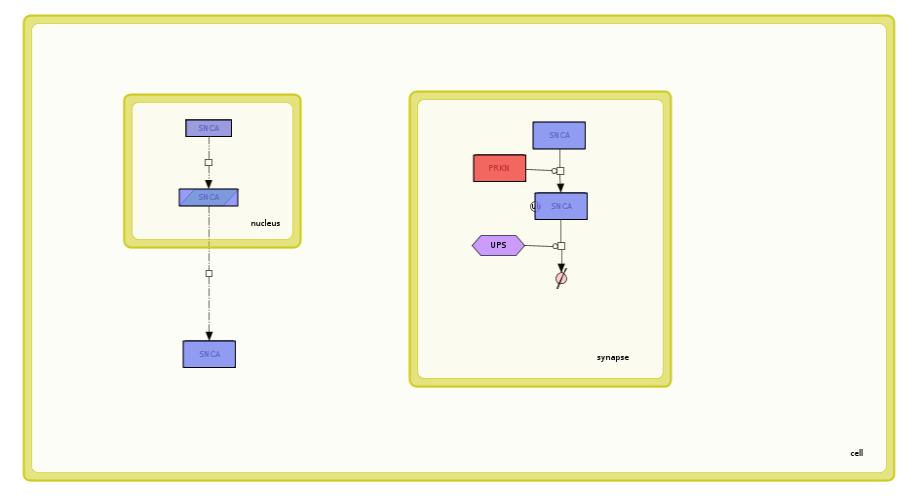
This is Example File 2, containing a custom coloring for an example map above Example File 1.
To upload this data set, do the following:
- Make sure you have the privileges to generate overlays in the example map
- Click on Project detail (magnifying glass icon in the rightmost column)
- Go to Users tab, see if by your name the View project checkbox is checked
- Enter the User view of the example map from the Admin view > Map manager by clicking on the name of the uploaded project (example_map by default)
- Make sure that you are logged in by checking the Profile tab in the left panel
- In Overlays > User-provided Overlays tab, choose Add overlay then press Choose File to select Example File 2 to upload Warning: To see uploaded overlay agree on Google Maps terms
- In Overlays > User-provided Overlays tab, click View checkbox to examine generated view
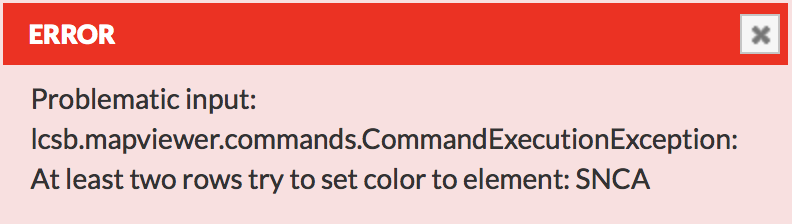
Examine the generated coloring and the uploaded data set. Please see image below and note that:
- All SNCA elements are colored to the same color because of by-name matching
- SNCA elements are blue-colored (the value in the file is -0.5), while PRKN is red (the value in the file is 0.75)
 {:width=“900px”}
Advanced format#
Advanced format foresees two parts of the uploaded dataset - header and body (see also Upload user-provided overlay data).
Header lines have to start with ‘#’. It can contain the following elements:
- Version
# VERSION=xyz- a version of this custom layout - Name
# NAME=xyz- a name that will be automatically assigned upon upload - Description
# DESCRIPTION=xyz- a description that will be automatically assigned upon upload
Body is a table with a following set of columns:
- Name, Value - same as in basic layout
- Compartment - name of a compartment in which coloring should take place Warning! Coloring of the elements in different compartments works ONLY for separate (not nested) compartments. Setting a color for elements in a compartment that encloses other compartments sets the color in the nested compartments as well.
- ChEBI - ChEBI identifiers of elements to be colored
- Entrez gene - Entrez identifiers of elements to be colored
- Gene ontology - Gene Ontology identifiers of elements to be colored
- Ensembl - Ensembl identifiers of elements to be colored
- HGNC symbol - HGNC symbols of elements to be colored
- UniProt - UniProt identifiers of elements to be colored
- ReactionIdentifier - ID of interaction to be colored (interactions coloring only)
- LineWidth - line width of the colored interaction (interactions coloring only)
- Color - color of the colored element.
By-identifier coloring#
This is Example File 3, containing a custom coloring for an example map above Example File 1.
Upload this data set similarly as in basic format upload.
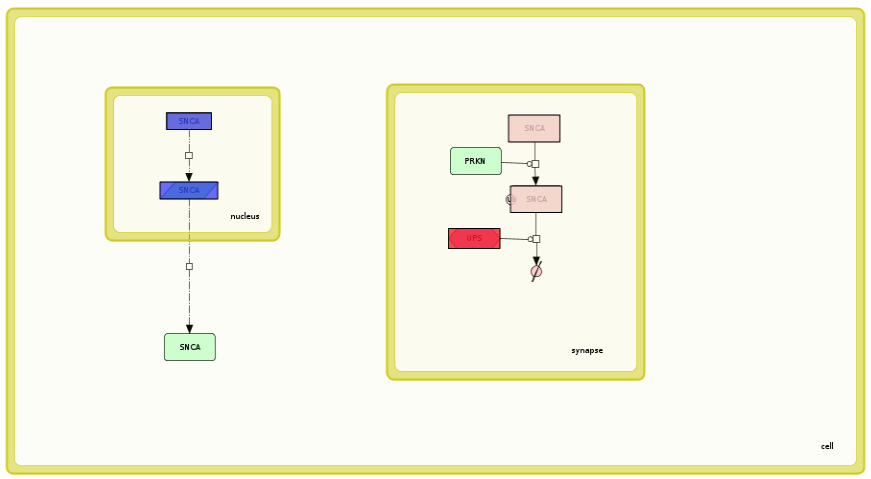
Examine the generated coloring and the uploaded data set. Please see image below and note that:
- elements are colored by their identifiers instead of their names
- groups of SNCA elements are colored differently - nucleus elements are colored red, synapse elements are colored green; this is by compartment constraint
Warning! Coloring compartments works ONLY for separate (not nested) compartments. Setting the color for SNCA identifier in the cell will color the contents of the nucleus and synapse as well. Setting different colors for the same SNCA identifier in the cell and in the nucleus will cause an error, as two different colors will be assigned to the same SNCA identifier in the nucleus inside the cell.
 {:width=“400px”}
 - removing compartment column will also cause the error described above
- using SNCA coloring by-name overrides by-identifier coloring, the order of selection is as follows:
- match by-name
- match by-identifier
- constrain by-compartment
 {:width=“900px”}
Custom colors and interaction coloring#
Advanced format foresees assigning user-defined colors to both elements and interactions.
This is Example File 4, containing a custom coloring for an example map above (Example File 1).
Upload this data set similarly as in basic format upload.
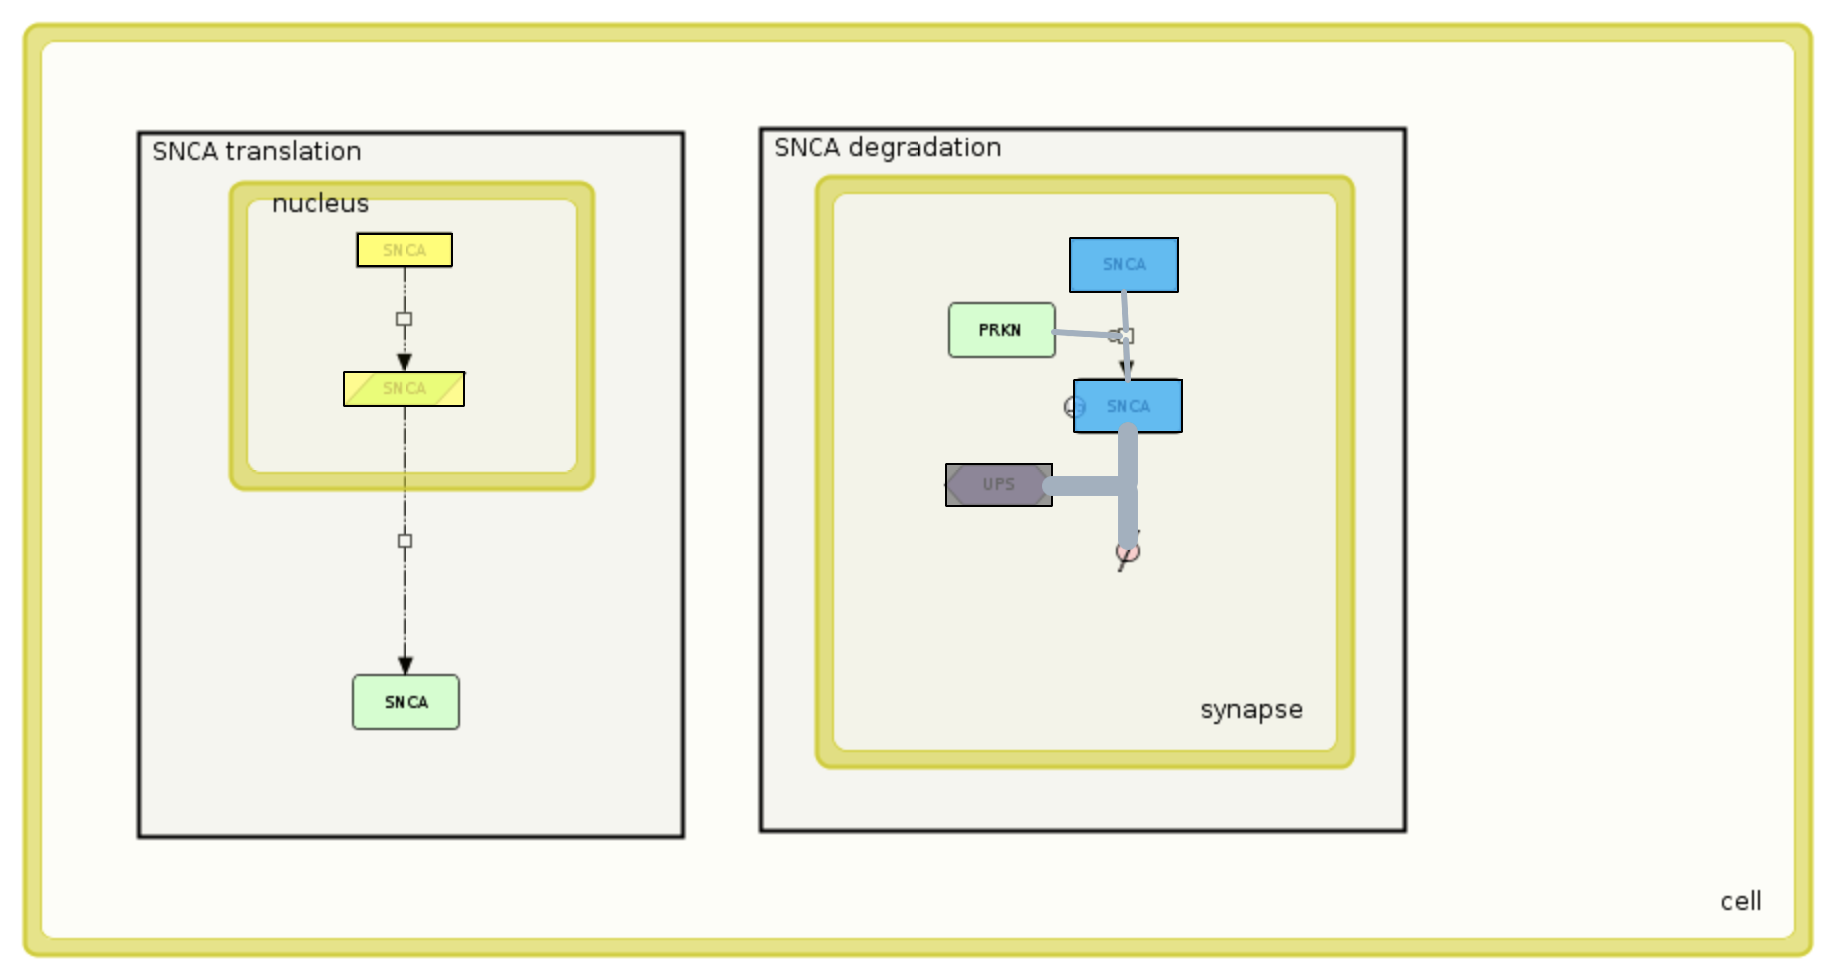
Examine the generated coloring and the uploaded data set. Please see image below and note that:
- color column replaces value for defining colors of interactions and elements
- reactionIdentifier is not affected by compartment constraint
 {:width=“900px”}
Remarks#
- Column names work only if an element is annotated by one of the terms above
- Column name: Name refers to the full name in the annotation panel; e.g., HGNC gene name for genes/proteins; ChEBI name for simple molecules or GO name for a Gene Ontology term.
- Elements needs to be written in the table as displayed in the left panel; e.g., HGNC: 11138; Ensembl: “ENSG00000184845”; ChEBI: “CHEBI:18243”.
- The uploaded table must be a text file
- Most columns could be used simultaneously as long as the same element is not addressed in two different columns; e.g. LRRK2 by HGNC name (=LRRK2) and Entrez gene ID (=120892) or a reaction identifier and a PubMed target the same reaction.
- Restrictions:
- A value or a color columns must in the uploaded text file but they mutually exclusive
- Name should only be combined with the identifiers: reaction Identifier and compartment
- Reaction identifier should only be combined with the identifiers name or PubMed
- If the column compartment is used the field must be filled by a compartment name derived from the content, otherwise the element will not be displayed in the content. Currently there is no possibility to choose all compartments.
Alternatively: you can always extract an area of interest as a CellDesigner file, open it in CellDesigner and colour it there.